Wednesday, October 21, 2015

Picture Always Shows The Flaws

Can you see it?  The big blaring MISTAKE!!!  Let me tell you all about it.


This project was what was called a "counter BOM" meaning that the local quilt shop would give you a free block pattern each month if you bought the fat quarter out of the fabric line that was chosen for the  quilt.  Patterns in this quilt were 12 different basket blocks done in a 30ish to 40ish reproduction line of fabric.  Project happened from 2007 - 2008.  I sewed all 12 basket blocks and 12 nine patch blocks / setting triangles.  I had a few squares left over, so I stitched them up into a different layout of the nine patch using only four prints.

Fast forward to 2015, the year of catching up and finishing up old UFO's, and I picked up this one and put it all together.  Yippee!  Right!  

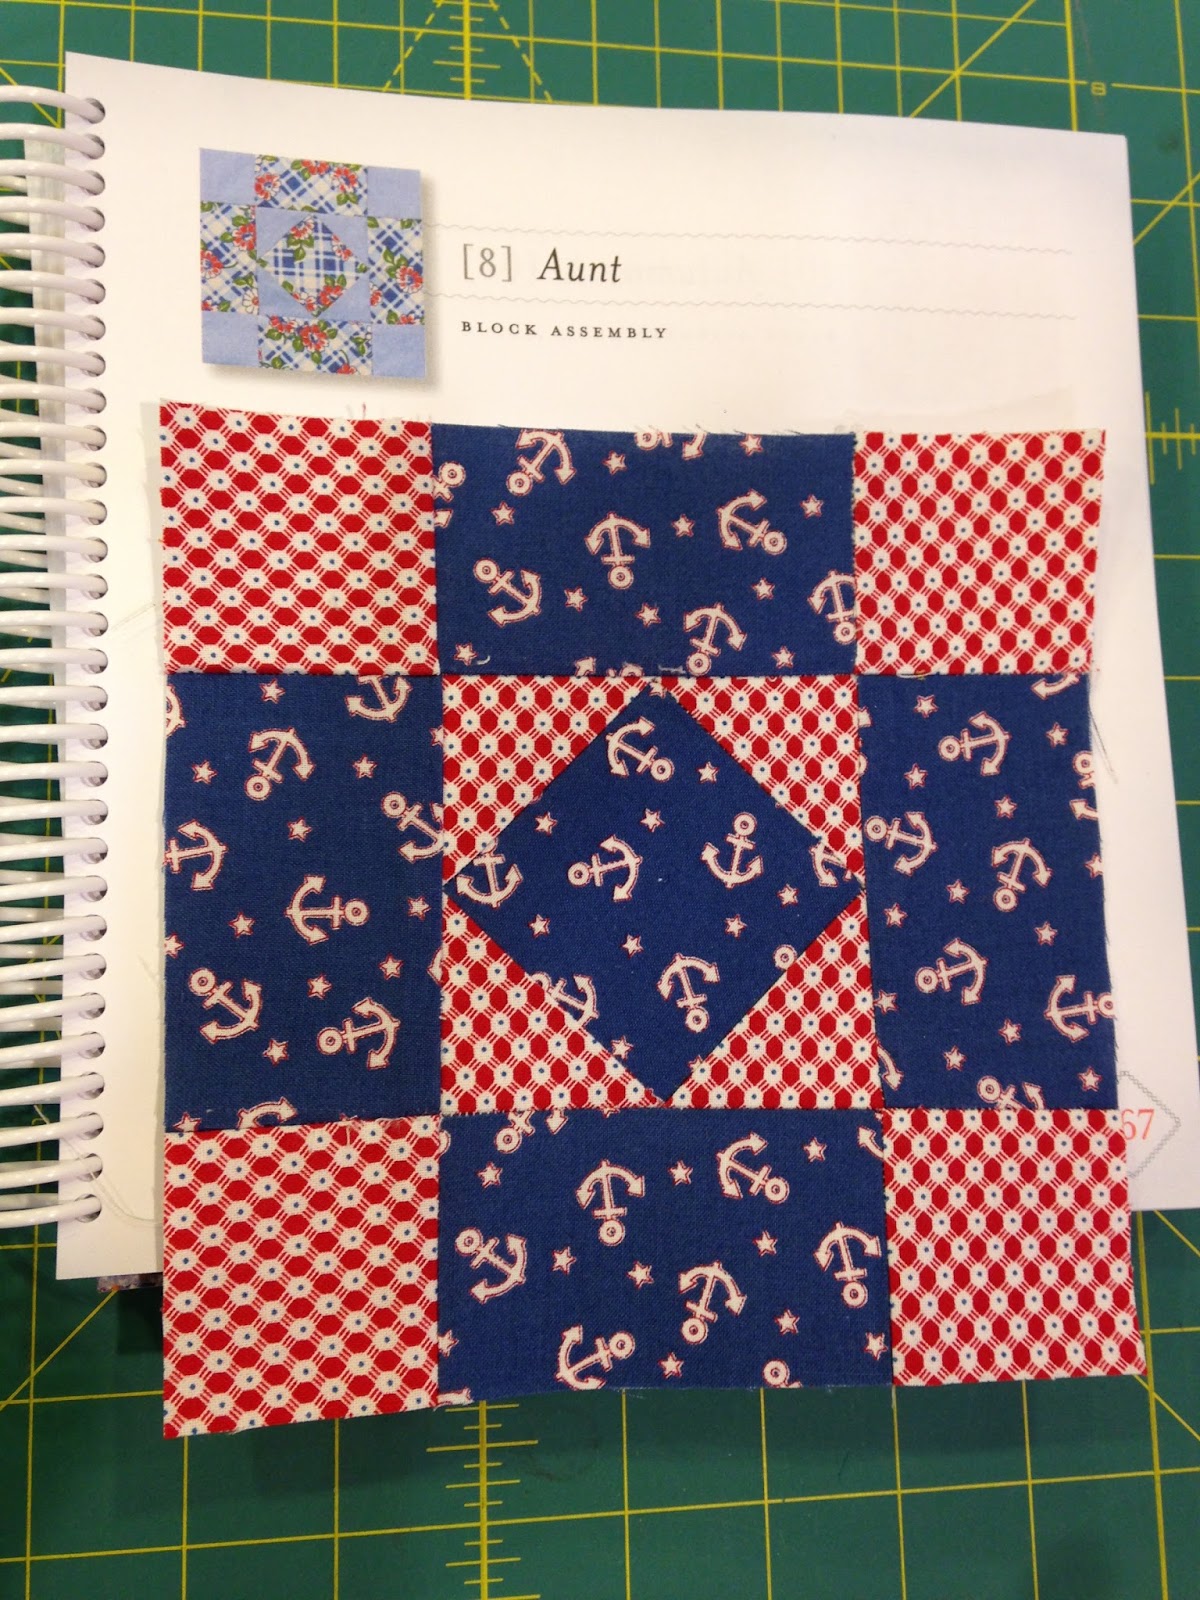
Wrong! Wrong! Wrong!  See that brown 9 patch with only 4 square of the print instead of 5 squares? Yep, that one.  I picked up one of the "leftover" blocks that I had made instead of using the correct one.  I cannot believe how blaring it is once I took the picture.  That wrong block throws off the look of the whole quilt.

I am really glad that I take pictures when the top gets done, just for this reason.  Finding this kind of blaring mistake at this point can be fixed, not so once the top is quilted.  

So, out came the seam ripper, the correct block is put in place and ta da!  We have a new and improved version:


Oh what a difference one little block can make.  I have some plain 60"wide muslin on order to use for backing, and I can mark this one off my UFO list.

On a side note, I also got started on the 2015 Leaders and Enders project from Bonnie Hunter's Quiltville site.  I have four rows of 17 pieces in each row done, and will continue to work on it until I have about 20 rows done.  About the size between a double bed size and a queen bed size.  It should go pretty fast as the blocks are around 5".  I am not doing anything special, like doing a light one then a dark one.  I am just picking up one off the top of the pile and sewing it on to the row and then picking up the next one on top of the pile.  It is proving to be interesting, but very freeing from following a pattern of contrasts.


Sunday, October 18, 2015

Hectic Life This Week


Life really has been busy this week.  Here is a recap:

I did manage to get these blocks for the Farmer's Wife 30's Sampler Sew Along.


This is so far, one of my favorites.


This one looks a bit confusing to me, probably my choice of fabrics.  The pink/red flower print was too big to use in such a small block.  I think overall though, it will blend in when the quilt is put together.


This had "Y" seams.  Doing it paper piecing.  "Y" paper piecing seams should be a four letter word!!!


This one reminds me of summer.  


Then I spent a couple of days getting my garden area ready for winter.  I spread two bales of hay along the paths between the raised beds, and covered my carrot and onions.  When I posted this on Facebook, I had a friend tell me to roll my hoses and drain the pipes.  It usually doesn't freeze until late December or January, and I still need water on for the chickens.  


Then towards the end of the week I had cataract surgery.  Yep, at age 55 I had to get this surgery.  It comes as a result of getting cobalt radiation when I was a child.  I am doing fine, and can see much better.  I am going to get the other eye done, as it won't be possible to do a prescription for glasses, and the other eye has the normal start of a cataract, so they will just go ahead and get it done in about 3 weeks. Definitely not my best photo, but wanted to capture the look right after surgery that day.  Smile!


Since moving my parents up here to live with us, I have been having my dad work on this sewing cabinet.  Remember when I posted about my Sister In Law gifting me the Singer Rocketeer?  And remember the old dingy varnish looking desk it came with, including the water rings and cigarette scars?  Well, Dad spent hours sanding off the old varnish, priming it, and then painting it a very light blush  rose color.  I also had him change out the drawer hardware with knobs and handles with pretty rose motifs.  What a transformation!!! I couldn't be more excited.  He did such a good job.


Well, onto another week of busyness and working on all kinds of projects.  

Warmest...

Thursday, October 8, 2015

More Paper Piecing

Ya know, I am now on the fence about this paper piecing way of putting a block together.  I am not sure I like the process of getting to the finished block, but I know I like the finished end result.  Here are some conclusions (at least in my mind) of what I think about the paper piecing gig:


These three are some of the simple blocks they are starting with in this sew along.  This type of block is a easy rotary cut, pieces sewn together, and bam, you're done.  Not so with paper piecing. It is very time consuming.  Maybe it is part of the learning curve for me, but I still would imagine it will take longer than a more traditional way.  It also takes more fabric.  You have to have almost double the size piece of fabric to stitch and ensures it over covers the portion of the block you are piecing.  Believe me I tried using an exact shaped piece (with seam allowances included) and somehow it didn't work well.  So I over cut a piece of fabric sew it onto the paper and then I have to cut it down after each seam and when the block is finished.


Now, here is where the paper piecing leans towards the good side of things.  These blocks are a few that I have done on my own, outside of the sew along.  I feel two blocks a week is too slow of a pace, so I went ahead and started at the beginning and made several this week.  


This block gets a little more detailed, but I gotta tell you, no way would by "flying geese" pieces ever look this good doing a block the traditional way!  


This block has some acute isoseceles triangles and trapezoids, which are harder types of pieces to normally sew together, but paper piecing makes them come together and fit perfectly.


Now the real charm of paper piecing happens with this block.  Third one in, of doing them on my own, and wow.  This is a block with a lot of tiny pieces.  And when I sat a lot of pieces, I mean 53 pieces to be exact!  Think about that for a minute, 53 pieces in a 6 1/2 inch block!!  When I said earlier that paper piecing takes longer, well this block took me two evenings to complete, or about 4 hours.  That's is an investment of time to be spending on one block, but the pieces are so small, that I would't be able to get it sewn, much less with this kind of accuracy.  


I have only done 7 blocks in the two week since the start of this sew along, and have 92 more to go, making it kinda of daunting to think of the time that will be spent in getting this project across the finish line.  

So in review, while I have some cons about paper piecing, there are more important pros that want to keep me plowing ahead and through this sew along.

Warmest...


Saturday, October 3, 2015

The Start

The Farmer's Wife 1930's Sew Along kicked off September 28th.  There has been more drama over this sew along than I have ever experienced.  Their Facebook page blew up, and women were going just crazy, to the point of obtaining the leader's personal phone number and sending a text to her in the middle of the night demanding an answer.  First, privacy was invaded, second, who does this kind of thing over a sew along?  I almost had decided to quit, as I don't need that kind of drama to have fun.  But, I went ahead and did the first two blocks (the sew along is to do two blocks a week, and then have all 99 blocks done by the end of the year), and decided that I will stay in for a few more weeks to see if things calm down some.

Here is the first block they had us do, #12 called Becky.


This is a picture of the back of the block, showing the paper piecing that I did to get it to look so crisp in it's seams.  


Just for kicks, I put my 61/2" ruler on top of the quilt block to show that the block came out exactly to the 6 1/2" square it is supposed to be when it get all sewn up.  I think I am going to like this paper piecing as it turns out so precise!


This is the second block, #16 Bonnie.


If you are interested, click on the red banner in the upper right hand corner of my blog, and it will take you directly to the page to get all the information and to sign up.  It's free.

Warmest...

Friday, October 2, 2015

UFO #2 Finished

If you will remember, this was the year of finishing up as many UFO's as possible.  My ultimate goal was set at 2 per month, but we have already established that bar was set a little too high.  So, I still want to plow through what I have sitting on my table for finishing up as many UFO's this year.

Last night I finished hand sewing down the binding on this  wallhanging quilt.  This particular one was a project that took longer than it should have, but we crossed the finish line, and I couldn't be more happy with how it turned out.  This is the summer version of a four season set, which was part of a Thimbleberries Quilt Club of 2003(you can go back and read more about it here).  It depicts a row of canning jars, a row of watermelon and it's slice, and a row of ears of corn.

I did special straight line quilting to try to depict the ring on a canning jar, and the slanted lines to show the jar had contents.


Here, I echoed quilted the watermelon to have it looked like it was sliced.


And I did the same type of quilting for the slice of watermelon.


I did the middle corn ears with just some straigtht line quilting, but the ears on the end, I got kinda crazy by using a decorative stitch on my machine to make it look like the kernels.  Turned out really cool, but it took way too much tread and time to do each ear in the row.


The backing was purchased about 10 years after I had punched the kit.  I did a search for the specific Thimbleberries fabric that was used in this quilt, and found a piece large enough to do the backing on Ebay.  The print that I found was used in one of the ears of corn, so the backing will be a good match to the whole wallhanging!  


I use Ebay a lot to find missing or older lines of fabric to either complete a quilt or for backings.  Bay rocks for quilters!!

Warmest...


Wednesday, September 30, 2015

A Really Old UFO Top Completed

This quilt was a LQS BOM club / program that was designed and done by a quilter that was trying to break out into the professional quilt pattern designer world.  She eventually went on to getting published and I have made a couple of her designs, mostly because she is a local designer.  Her name is terri Staats, and her pattern design name is Sweet Treasures.  The sun had gone down by the time I got outside to get the picture.  The only place I have to take a picture of a quilt this big (85" X 95") is out side on my lawn.


Here is a close up of the quilt top to show the colors and background of this quilt.  Each big star block is a different pattern, as it was a way to build skills building stars and making points come together correctly.  Then the solid red stars are all the same throughout the quilt that were used as setting squares for the big focal star blocks.  This red dot on white print that is used as a background is one of my favorites that I have ever used as a background.  Not plain, not too busy.  Just right.

I had the top completed, but had not put on the borders yet.  Part of the problem was a couple of the setting triangles were too short along the outer edge.  So I opted to tear it out and add about an inch to make the sides all around even.  Then  I added the three borders, solid red, the pink print, and then the background red polka dot print.


This last picture shows the binding (red) and the backing, the pink floral stripe.  Just yummy!  The pictures don't do it justice.


I am sending this off to a Long Arm Quilter, as I want it to be nicer than what I can do on my domestic machine.

I will post completed quilt in a couple of weeks.

Warmest...


Tuesday, September 29, 2015

Plodding Along with the Cheddar Bow Ties


I have come a long way on this little project, since I last wrote a post about them.  I have about 500 little blocks done of the 700 I originally wanted to accomplish for a double size bed.  I have since changed my mind and want to do two twin sized quilts, so I calculated I would need 600 for each quilt.  So, to look at it on the positive side, I have the blocks almost done for one of the quilts, and then I just have to start over for the other one.

This is a pile of chain piecing.


A set of piles of pieces needing to be sewn.


And a pile of pieces needing to be added to the first part of the block.


I have piles of various different stages all around my sewing machine at any given time.  I am now working on sets of 50 in my chain piecing, so I feel like that I am getting big chunks of the blocks done at any given time I can work on them.

What is so nice about this type of scrappy project, it allows me the ability to just sit down, even if it is only for 10 minutes or so, to make progress.  It's repetitive work that doesn't require the need to look at a pattern, or be so precise in the stitching or joining of the pieces in the block.  

Warmest...