
Wednesday, March 13, 2013

Sunday, March 10, 2013
Addition to My Sewing Room
I have wanted a treadle sewing machine for, since forever. When I was younger, I thought I wanted to be a pioneer woman, born in the prior century. Since then, I know how hard life was then, and wouldn't really like to have been born then. Leftover, from that line of thinking though, I have always wanted a singer treadle sewing machine. Up until now, I either couldn't afford one, or didn't have a space to have one. I now have space for one in my sewing room, and my husband shelled out the bucks for this one. And, you are not going to believe where I found it either! At the gun show we were doing this weekend! Yep, at the gun show! There is another seller there that always has older guns and usually a Singer Featherweight for sale. I guess he finds old broken ones, cleans and fixes them up and brings one with him with his guns. So I asked him if he had any Singer Treadle machines, and no he didn't, but a gentleman had just stopped and talked to him about his recently deceased wife's treadle machine. So, this Featherweight guy hooked me up with the Treadle Machine guy, and ta da!
So enough talk, here are the pics.....


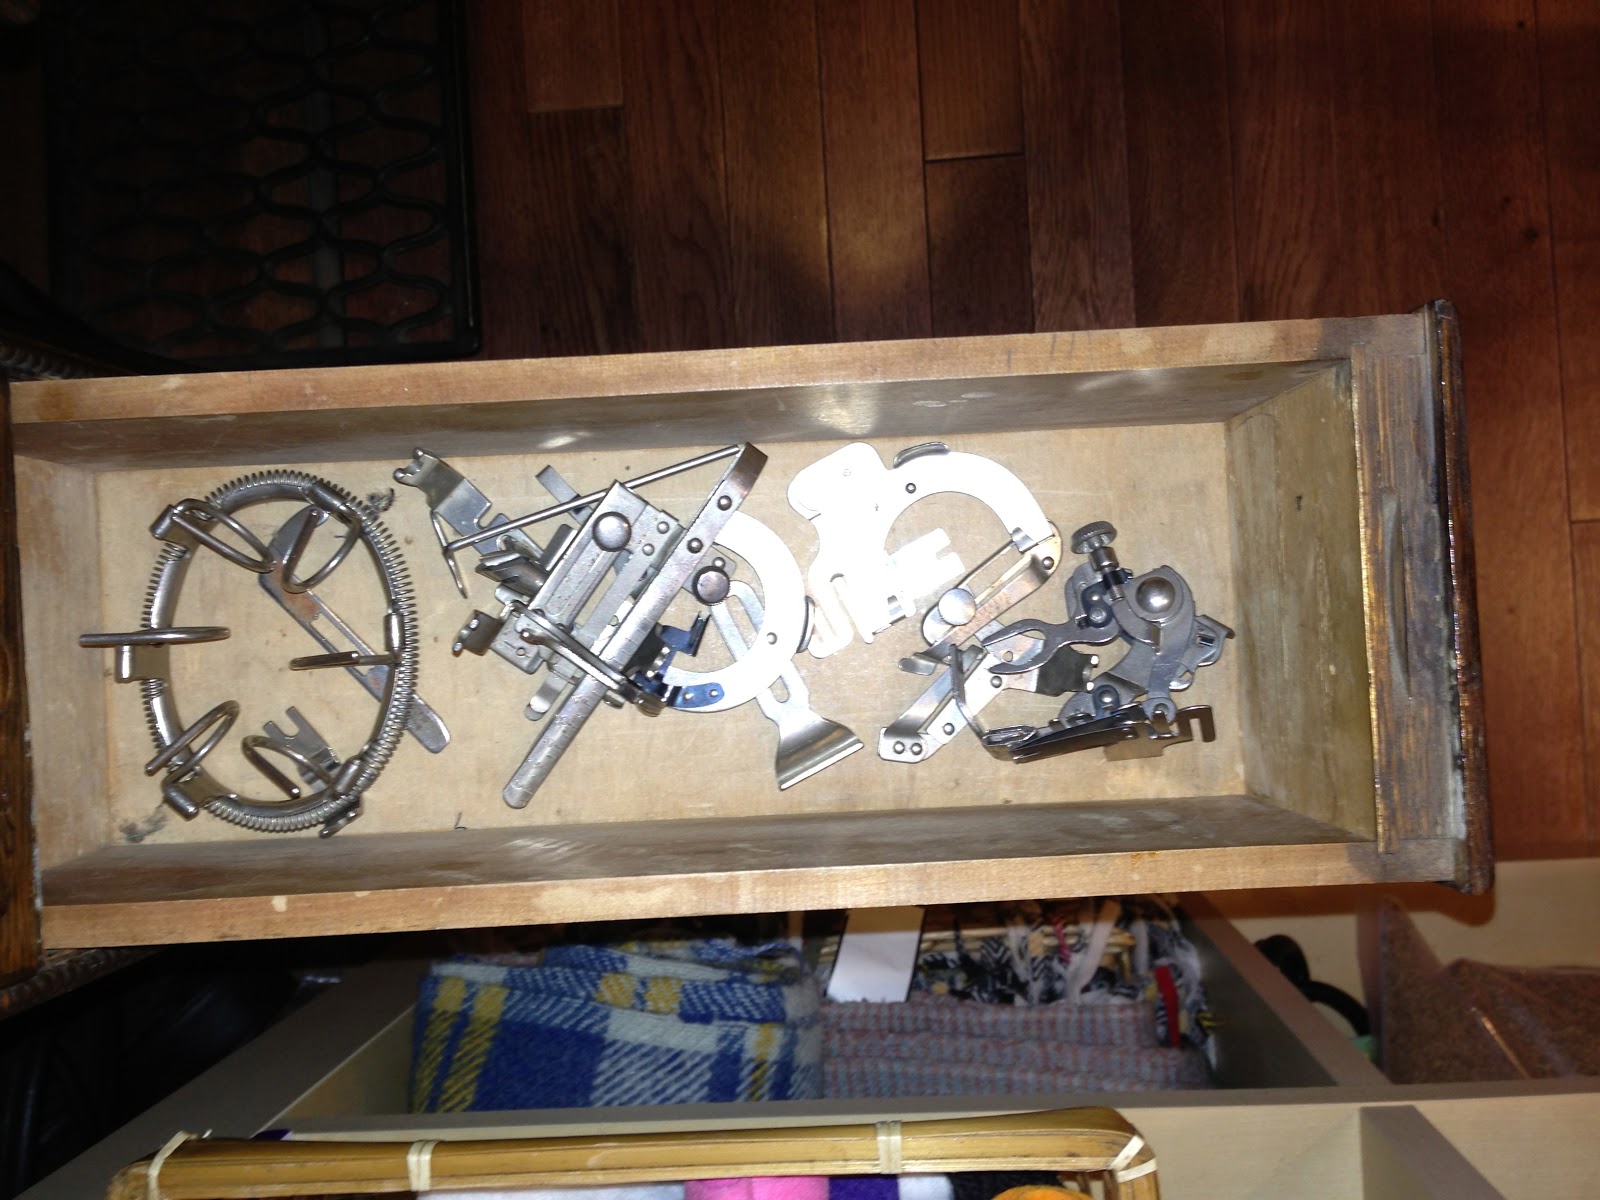
This is the drawer full of attachments and feet!

So enough talk, here are the pics.....


This is the drawer full of attachments and feet!
Friday, March 8, 2013
Spring Fever
It is starting to become spring here in the Northwest. This is the time I begin to plant my cold crop garden in my boxes. The first picture is a picture of my boxes when we built them three years ago. So today, I planted peas, carrots, radishes, beets, lettuce, spinach, and snow peas. All of these were planted in just one box, but provides more than we can eat when it comes time to harvest. I added a picture of the flowers I grow every year, as I planted new bulbs in the long garden box in the back along the fence line. I planted more calla lilys, dahlias, and glads. I successive plant glads, and can have them for my cut flowers all summer long. Today I planted 50 glad bulbs, and will plant about 50 every 3 to 4 weeks until about late July. I love spring and all it brings!


Monday, March 4, 2013
Winter Blues
I thought I was going to make it through a winter, missing the flu, cold, and pneumonia crud this year, as it has always hit me in January. Sailed through January, when all around me were sick, sick and more sick. So, I was feeling quite superior about it all, and well, one should never feel superior, because it always backfires, especially on me, because POW, I got knocked right off my feet, flat on my back, with toes curled up with coughing coming down with a bad bout of pneumonia. I kid you not, I have been one sick puppy, and I am still not over it, as I either gotten a cold, or a rebound of the pneumonia.
Of course, as luck would have it, I was sick when my son came home (couldn't you tell in the video?), and my parents have been here from Albuquerque. I haven't been the best hostess or the of company. Nobody is when they are sick. I wanted to spend some quality time with them, but I have still had to work and or be in bed early. They probably don't even feel slighted like I do, as they are the sweetest couple of people anyone could have for parents. But still, it is just not fair.
Then, I have had to do two trade shows with my husband every weekend since being sick, and will be doing them again the next two weekends. Geez, when will there be a break?????
Taxes need to be done for both the business and personal. I think it might be time to let the pros do this, as I have always procrastinated doing them every year. Hmmm, note to self, need to discuss with hubby on this issue.
The garden needs to be started, at least the cold crop veggies need to be planted. They will be in late this year. Bummer.
But, you would think I would be writing about not being able to sew, quilt or craft? No, I know this time of year always brings on this hectic schedule, and I know that I won't be able to get to this area of my life until life gets organized every year. When I can get back to this area, I am excited and more creative as taking a break re-energizes me and I really appreciate my hobby all the more.
Thanks for letting me whine. I feel better, just not physically. Yet.
Of course, as luck would have it, I was sick when my son came home (couldn't you tell in the video?), and my parents have been here from Albuquerque. I haven't been the best hostess or the of company. Nobody is when they are sick. I wanted to spend some quality time with them, but I have still had to work and or be in bed early. They probably don't even feel slighted like I do, as they are the sweetest couple of people anyone could have for parents. But still, it is just not fair.
Then, I have had to do two trade shows with my husband every weekend since being sick, and will be doing them again the next two weekends. Geez, when will there be a break?????
Taxes need to be done for both the business and personal. I think it might be time to let the pros do this, as I have always procrastinated doing them every year. Hmmm, note to self, need to discuss with hubby on this issue.
The garden needs to be started, at least the cold crop veggies need to be planted. They will be in late this year. Bummer.
But, you would think I would be writing about not being able to sew, quilt or craft? No, I know this time of year always brings on this hectic schedule, and I know that I won't be able to get to this area of my life until life gets organized every year. When I can get back to this area, I am excited and more creative as taking a break re-energizes me and I really appreciate my hobby all the more.
Thanks for letting me whine. I feel better, just not physically. Yet.
Wednesday, February 20, 2013
Coming Home Captured on TV News
Thank all of you for the warm comments and support of my son coming home from Afghanistan. It was all captured on the news. I am the mother being interviewed and seen blubbering crying and hugging my son. Click on the link to view if you want to see how it was captured.
David's Coming Home Video
David's Coming Home Video
Tuesday, February 19, 2013
Coming Home!
Happy dance! I'm doing the happy dance!
I think everyone knows by now, I have a son in the Army and he has been deployed to Afghanistan for the last nine months. Well, he is coming home sometime this week! (The military doesn't allow the exact to be put out on social medias for the troops security reasons, so you'll have to just wait for the next few days for more details.)
My parents flew in today from New Mexico so we can all go together to see him come in at his base, as the military has ceremonies of the troops for the families when the come home. It will be emotional and very moving, and exciting! I will pics share more details after he is home on USA soil safe and sound.

I think everyone knows by now, I have a son in the Army and he has been deployed to Afghanistan for the last nine months. Well, he is coming home sometime this week! (The military doesn't allow the exact to be put out on social medias for the troops security reasons, so you'll have to just wait for the next few days for more details.)
My parents flew in today from New Mexico so we can all go together to see him come in at his base, as the military has ceremonies of the troops for the families when the come home. It will be emotional and very moving, and exciting! I will pics share more details after he is home on USA soil safe and sound.

Wednesday, February 6, 2013
Tutorial - Narrowing Pant Leg Width
As I have mentioned before, my Grandma taught me most of what I know about sewing. She was very thorough in her teaching, and not only taught me how to make clothes from patterns, but also how to alter clothes. So, I wanted to alter some chino pants that I had bought awhile back. The leg width was 12" wide, and wore them once. I got my foot caught in one leg and about tripped flat onto my face. I also did not like the way I looked in them and just didm't like hated them, and consequently did not ever wear them. I knew I could make the pant leg narrower, but I knew it would take longer than I wanted to spend the time doing it, so I put it off, and put it off, and kept putting it off. Then when I started working full time I found it necessary to increase my wardrobe a bit, and I didn't want to spend any money. Thus, the alteration of my pant leg width, and along with doing the alteration, I decided to write this tutorial.
It doesn't take much to do alterations. Something to take apart the seams. Most seamstress use a seam ripper, but my Grandma always used a razor blade, so that is how I learned and still use one today. I found this handy razor holder in the hardware store along with a big box of single edged razors. You will also need a marking pen of some kind, I use the SewLine brand, a pair of good scissors, and either a tape measure or a ruler. And of course a sewing machine and matching thread of the garment you are altering.

Here is my first picture measuring the width of the the pant legs. It shows that they measure 12", and I like my pant legs to measure between 8" to 10". I actually measured the pant leg width of my favorite pair of pants to give me a a width I want to obtain on this pair.

 First begin by removing the hem in each leg. I always start at one of the side leg seams, because the cutting of the first couple of stitches are a little difficult. Cutting into the side seam allows for any errors if you cut into the material. You will only cut into the seam, and not part of the pants that would show a hole cut into the fabric.
Take the time to remove all the thread from the original hem. This was something my Grandma emphasized, because leaving any bits and pieces can get sewn back into the seam and make it look very messy and after they get sewn in the seam, they can be very hard to remove.


Note here that most pants have a flat fell seam running down the outside seam from the waist to the hem. Take care when taking out this seam, as it has three parts. First is the main seam sewing the the front to the back, then the edges of the seam is served and then the seam is sewn flat on the right side of the pant leg. You can find out more information about the different type of seams here.


Place a hard straight ruler along the edge of the seam, beginning at the top most part of the opened seam. Then pivot it out at a small angle to gradually take in the edge.

 |

Taking it down to the hem line, you have now angled it, taking in about 1 1/2 inches. Repeat on the other back side seam.


This is a close up picture of how the pant leg will look after the cut has been made.
The pant legs should have the same same ratio to each other as they did before cutting the marked sides. The front should be smaller than the back by the same amount on each side.


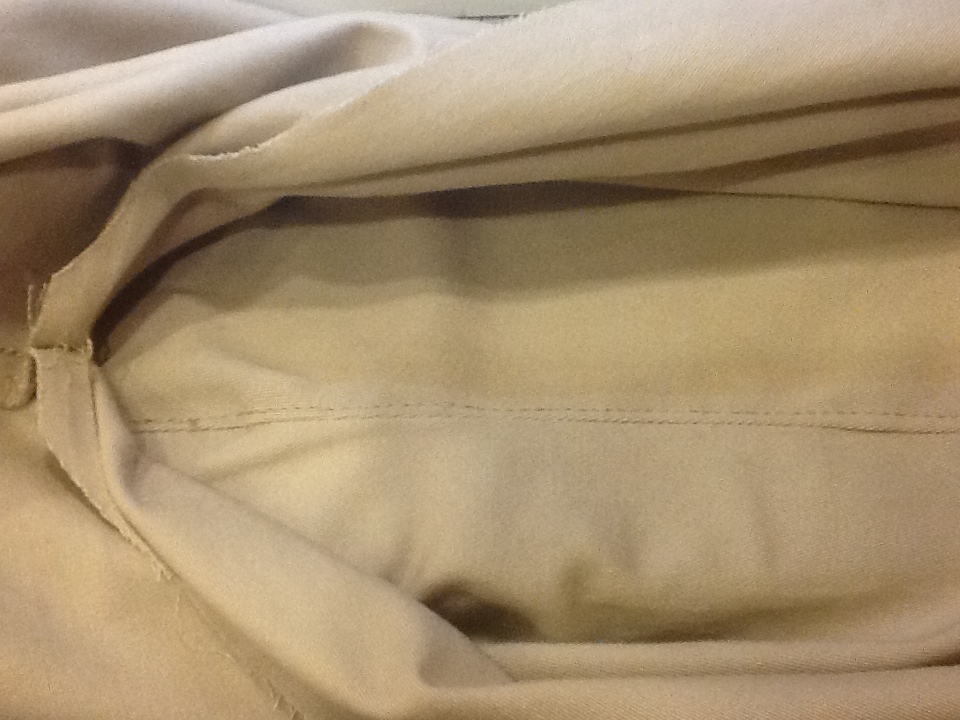 This picture shows the finished seam with the topstitching done.
Make sure the original hem lines match. This is important when it comes time to re-hem the pant legs again.


Repeat all of the steps for the other pant leg.

Now it is time to hem each leg of the newly narrowed pant legs. Hopefully, you have matched the hem lines on both seams of each leg.


Subscribe to:
Posts (Atom)