
As I have mentioned before, my Grandma taught me most of what I know about sewing. She was very thorough in her teaching, and not only taught me how to make clothes from patterns, but also how to alter clothes. So, I wanted to alter some chino pants that I had bought awhile back. The leg width was 12" wide, and wore them once. I got my foot caught in one leg and about tripped flat onto my face. I also did not like the way I looked in them and just didm't like hated them, and consequently did not ever wear them. I knew I could make the pant leg narrower, but I knew it would take longer than I wanted to spend the time doing it, so I put it off, and put it off, and kept putting it off. Then when I started working full time I found it necessary to increase my wardrobe a bit, and I didn't want to spend any money. Thus, the alteration of my pant leg width, and along with doing the alteration, I decided to write this tutorial.
It doesn't take much to do alterations. Something to take apart the seams. Most seamstress use a seam ripper, but my Grandma always used a razor blade, so that is how I learned and still use one today. I found this handy razor holder in the hardware store along with a big box of single edged razors. You will also need a marking pen of some kind, I use the SewLine brand, a pair of good scissors, and either a tape measure or a ruler. And of course a sewing machine and matching thread of the garment you are altering.

Here is my first picture measuring the width of the the pant legs. It shows that they measure 12", and I like my pant legs to measure between 8" to 10". I actually measured the pant leg width of my favorite pair of pants to give me a a width I want to obtain on this pair.

 First begin by removing the hem in each leg. I always start at one of the side leg seams, because the cutting of the first couple of stitches are a little difficult. Cutting into the side seam allows for any errors if you cut into the material. You will only cut into the seam, and not part of the pants that would show a hole cut into the fabric.
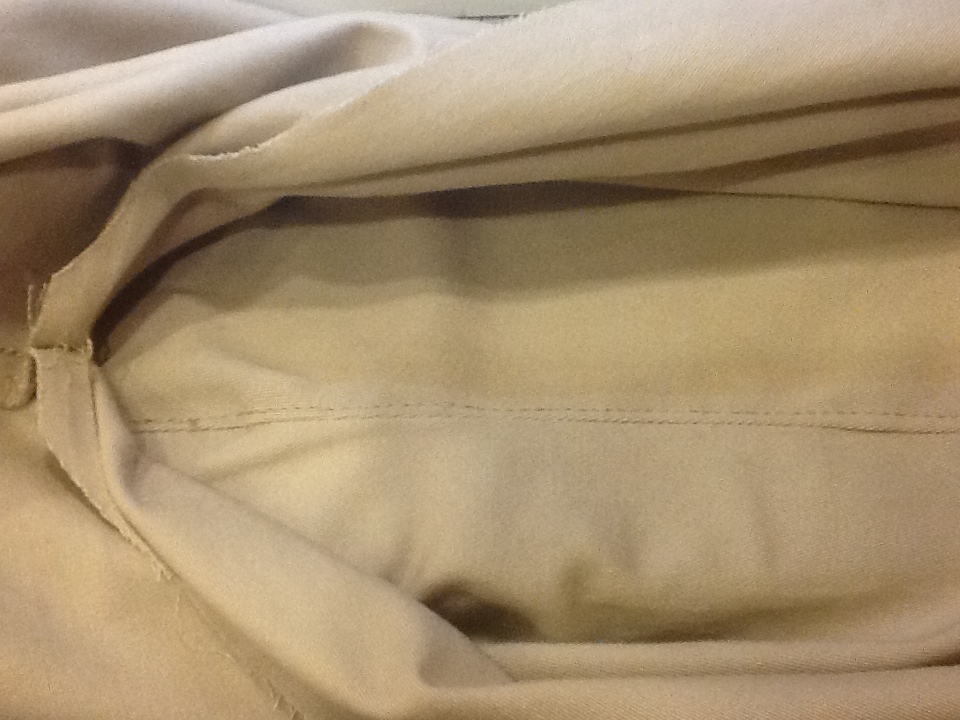
Take the time to remove all the thread from the original hem. This was something my Grandma emphasized, because leaving any bits and pieces can get sewn back into the seam and make it look very messy and after they get sewn in the seam, they can be very hard to remove.


Note here that most pants have a flat fell seam running down the outside seam from the waist to the hem. Take care when taking out this seam, as it has three parts. First is the main seam sewing the the front to the back, then the edges of the seam is served and then the seam is sewn flat on the right side of the pant leg. You can find out more information about the different type of seams here.


Place a hard straight ruler along the edge of the seam, beginning at the top most part of the opened seam. Then pivot it out at a small angle to gradually take in the edge.

 |

Taking it down to the hem line, you have now angled it, taking in about 1 1/2 inches. Repeat on the other back side seam.


This is a close up picture of how the pant leg will look after the cut has been made.
The pant legs should have the same same ratio to each other as they did before cutting the marked sides. The front should be smaller than the back by the same amount on each side.


 This picture shows the finished seam with the topstitching done.
Make sure the original hem lines match. This is important when it comes time to re-hem the pant legs again.


Repeat all of the steps for the other pant leg.

Now it is time to hem each leg of the newly narrowed pant legs. Hopefully, you have matched the hem lines on both seams of each leg.


4 comments:
Wonderful tutorial, I used to sew all my clothes! Thanks for sharing.
Freemotion by the River Linky Party Tuesday
Best tutorial for altering trousers. I have trawled through about seven other sites and these instructions are comprehensive with the results giving a professional smart finish, just what is desired when altering expensive or your favourite coloured trousers. thank you
Thank you so much. This answered about a dozen questions I had for this process. I had a friend ask if I could do four pairs -- knowing that's a 1-1/2 hour job each was extremely helpful.
I have one question. Do I have to trim down only the back leg not the front leg as well?
Post a Comment